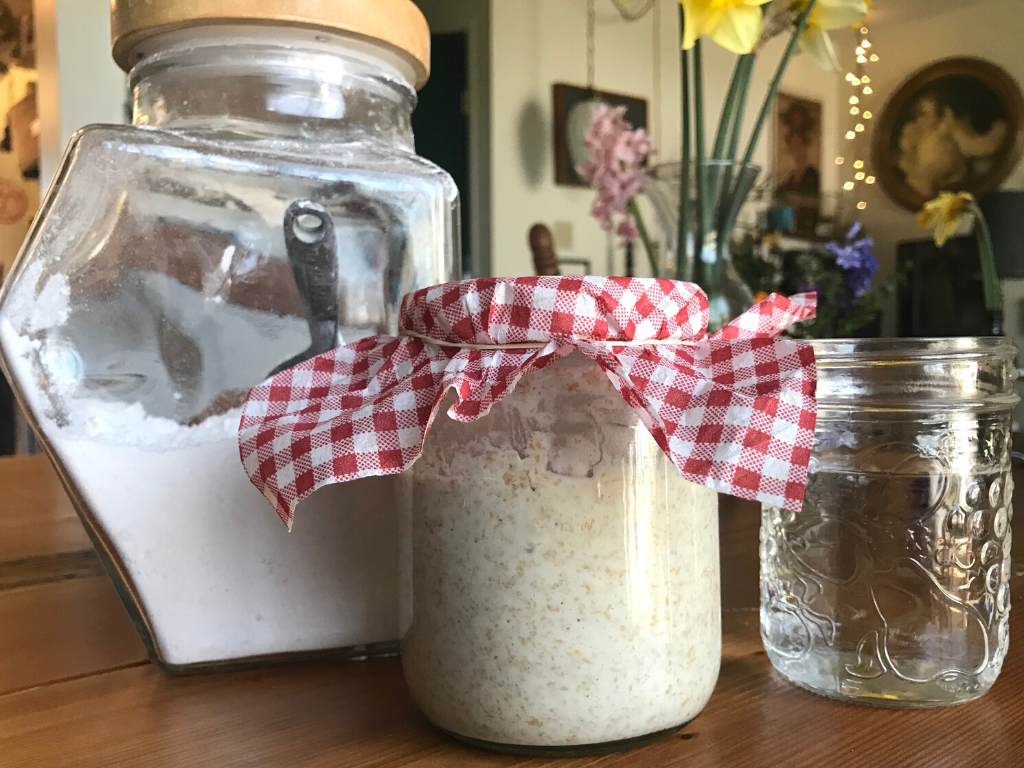
D.H. Lawrence tells us, that "the human soul needs actual beauty more than bread." But we say, why choose? With sourdough you get both. And the only way to start baking sourdough is with a starter.
What is starter? Instead of a package of dry yeast to leaven your bread, you are harvesting wild yeast with a mixture of flour, water, lactobacilli bacteria and time. The good bacteria and the wild yeast make a tasty byproduct that makes sourdough bread rise and gives it that signature tart flavour.
There are seemingly as many opinions on how to make starter as there are bacteria in the world, but we find King Arthur Flour's sourdough starter guide simple and steadfast. Here's how we make ours using the King Arthur Flour guidelines:
WHAT YOU NEED:
- 946 ml (1 quart) sized glass jar or sturdy plastic container that holds the same amount
- Room temperature water
- Whole wheat flour
- High-protein, UNBLEACHED white flour (optional)
- Spoon, thin spatula or long strong chopstick for stirring
- Kitchen scale
DAY ONE
Mix flour and water.
A kitchen scale isn't necessary, but it really does make it easier and takes the guesswork out of what you're doing. Weigh out 115 grams (scant cup) of whole wheat flour + 115 grams (1/2 cup) of room temperature water and mix together in your starter container. Stir to make sure everything is combined and cover the jar loosely. A piece of muslin secured with an elastic band works wonderfully. Place your starter somewhere warmish (the top of the fridge is good) and leave it for 24 hours. You don't want to heat the starter, but if you have a cold kitchen try to find the warmest spot in the space.
DAY TWO
After 24 hours, it's time to revisit your starter. It's entirely possible you'll notice no difference at this point. That's okay. Time to feed that hungry starter.
Discard half the starter (around 115 grams/1/2 cup) and add to the remainder 115 grams (scant cup) of flour and 115 grams (1/2 cup) of room temperature water. At this point, if you would like to switch to unbleached white flour you can. We like to use a combination of 2 parts unbleached flour to 1 part whole wheat. This is also the combination we use for baking our loaves. We also find that keeping whole wheat flour in the mix makes for a more robust starter. Feed again in 12 hours.
DAY THREE
At this point, you may see some activity. The starter may be bubbling and growing. You may also notice a fruity aroma. But again, it's okay if you aren't seeing much going on. It's still early days. Regardless, it's time to step up the feeding schedule to twice daily, aiming for 12-hours apart.
For each feeding, stir down the starter and weigh out 115 grams of starter (a generous 1/2 cup). Discard any remaining.
Add 115 grams (scant cup) of flour, and 115 grams (1/2 cup) water to the 115 grams starter. Mix the starter, flour, and water, cover, and let the mixture rest at room temperature for approximately 12 hours before repeating.
DAY FOUR
Repeat everything you did on day 3.
DAY FIVE
Repeat the steps from day 3 for your first feeding. Ideally, you have a bubbling starter at this point that may be doubling in size. This means you could do your first bake after your second feeding. If not, keep repeating your day 3 steps for a few more days until you've reached this point.
If things are bubbling along by the second feeding, discard all but 115 grams and feed as usual. Let the starter sit at room temperature for 6-8 hours. If at this point, the starter is very active and has doubled in size, you can go ahead and use in your recipe.
Remove however much starter your recipe calls for, making sure you leave 115 grams of starter behind for rebuilding. If you're using a recipe that calls for more than a cup of starter, you'll have to plan ahead to build more.
Feed your remaining starter as you were before. Once you've fed it twice and things are bubbling along you can bake again, or store it in the fridge and feed it once a week. Just remember to bring it out of the fridge the day before you plan to bake and give it a good feeding.
TIPS
It's a good idea to have a little more flour and water than starter when you're feeding. If you're weighing things out, an extra 5 grams of starter is a good rule of thumb.
If you're starter feels stuck and the weather is nice, take it outdoors for a bit. There's load of wild yeast in the great outdoors. Just don't leave it in direct sunlight for an extended period of time.
Some references state that you should use filtered or mineral water, but we've always had good luck with plain old tap water.
Use your starter discard in recipes. Pancakes and waffles come to mind, but there's a lot you can do with left over starter. From cake to gravy, the possibilities are endless and are but a Google away.
